

 Back to Blogs
How to Align Garage Door Sensors
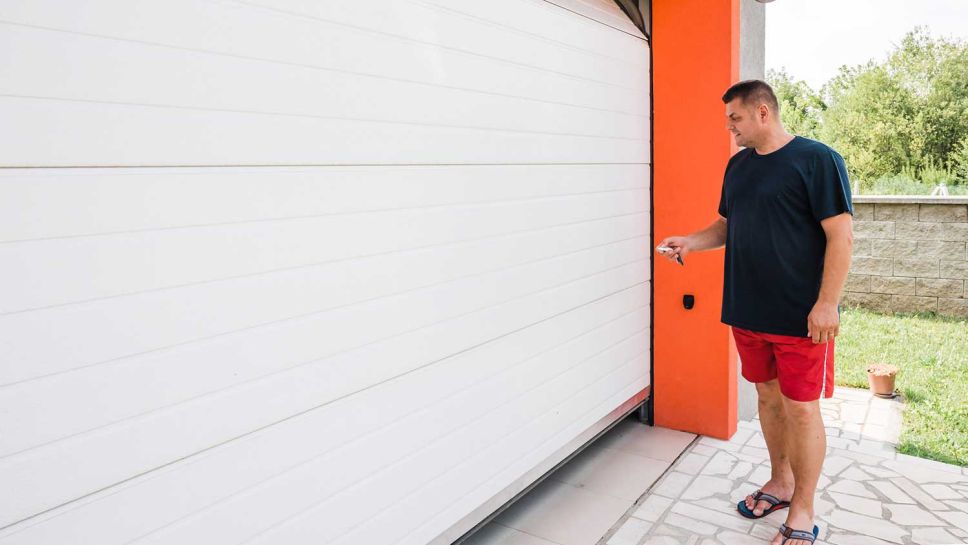
If your garage door refuses to close all the way, misaligned sensors could be the culprit. The good news? You don’t need to call a pro just yet.
With a few simple adjustments, you can get those sensors back in line and your door working smoothly again.
Let’s break it down.
How to Align Garage Door Sensors
To align garage door sensors, cut power, clean the lenses, adjust both sensors to the same height, then test until both LEDs are solid.
Key Takeaways
- Garage door sensors stop your door from closing if something’s in the way
- Misaligned sensors can make your door stop, reverse, or only close with the wall button
- You’ll need a screwdriver, level, string, and a cloth to fix them
- Align both sensors at the same height and direction
- Look for solid LED lights on both sensors when they’re aligned.
- Clean the lenses and check for wiring issues if it’s still not working.
- If nothing works, it’s time to call a pro.
What Are Garage Door Sensors and Why They Matter
Garage door sensors are small safety devices mounted on either side of the garage door, near the floor. They use infrared beams to detect if something—like a pet, toy, or person—is in the door’s path.
Why do they matter? Simple: they stop the door from closing on anything (or anyone) underneath. If the beam is broken, the door won’t close. That’s not a glitch—it’s a safety feature.
When these sensors are misaligned, your door may refuse to shut or suddenly reverse. It’s frustrating, but it’s usually fixable. Knowing how these sensors work is step one to keeping your garage door safe, smooth, and stress-free.
Signs Your Garage Door Sensors Are Misaligned
- Your door won’t close all the way: Stops halfway or reverses? Your sensors are beefing, not syncing.
- That annoying blinking light: One sensor flashing like a strobe? It’s screaming “I’m out of alignment.”
- Garage door randomly reverses: Goes down, then bounces back up like it’s spooked. Classic sensor confusion.
- You’re stuck playing limbo with the door: Only closes when you hold the wall button? The sensors aren’t talking to each other.
- Obvious sensor angle drama: One's tilted or looks like it’s eyeballing the floor? Yeah, not ideal.
- No visible obstructions, but still no go: If nothing's in the way and it still acts up, misalignment is likely the villain.
Tools You’ll Need to Align Garage Door Sensors
You don’t need a full toolbox—just the right stuff. Grab a screwdriver, a level, some string, and a measuring tape. A clean cloth helps too if the sensors are dusty.
That’s it. Nothing fancy, just a few basics to get your garage back in sync.
Step-by-Step Guide: How to Align Garage Door Sensors
1. Kill the power: Before you touch anything, cut the power to your garage door opener. Safety first. No one needs a surprise door drop mid-fix.
2. Check for obvious problems: Look for loose wires, gunk on the sensor lenses, or something blocking the beam. Even a spiderweb can throw things off.
3. Loosen the mounting brackets: You don’t need to yank them off—just loosen the screws enough so you can move the sensors. A quarter-turn should do it.
4. Line them up: Use a string, level, or your eagle eyes. The sensors need to face each other directly, at the same height. If they’re off by even a hair, they’ll beef.
5. Tighten and test: Once they’re aligned, tighten the brackets back in place. Turn the power on and try closing the door. If it goes down smooth, you nailed it.
6. Look for the green light: Most sensors have a little LED that lights up when they’re vibing. No light? That’s your cue, something's still off. Re-check the angle and height.
7. Still wonky? Try wiping the lenses with a clean cloth. If that doesn’t fix it, you might be dealing with frayed wires or sun interference. Shade the sensor or call in backup.
Pro tip: Keep a cardboard box or something non-metal handy. Wave it between the sensors. If the door reverses, they’re working. If not, you’ve still got beef to squash.
This whole process takes just 10–15 minutes, and it can save you from the daily hassle of manually wrestling with the door every morning. If you’re getting an expert garage door replacement in Morrisville, make sure the sensors are set up correctly—they may be small, but they run the show.
Common Mistakes to Avoid When Aligning Sensors
Don’t eyeball it. If your sensors aren’t level, they won’t sync—and your door won’t budge.
Skipping the power check? Rookie move. Always cut the power before adjusting anything.
People forget to clean the lenses. A tiny speck of dirt can throw everything off.
Also, don’t zip-tie wires too tight. You’ll mess with alignment the moment the cable shifts.
Final no-no? Rushing the job. Take five extra minutes now or spend an hour later wondering why your garage door’s ghosting you.
When to Call a Professional
If the sensors are still acting up after cleaning and realignment, don’t stress-test your patience. Call in a pro.
Flickering lights, bad wiring, worn rollers, or a motor that’s lost the plot can all signal a bigger problem. If you’re wondering Why Is My Garage Door Louder Than It Used to Be?, unusual grinding, squeaking, or rattling sounds may point to worn or loose components that need professional attention.
Frequently Asked Questions
1. Why won't my garage door close all the way?
Chances are, the sensors aren’t eye-to-eye. Make sure nothing’s blocking them and they’re lined up snug.
2. How do I know if the sensors are bad?
If the lights on both sensors aren’t solid (one might be blinking or off), they’re either misaligned or toast.
3. Can I align them without tools?
Yep. A steady hand and a little patience usually do the trick. No need to bust out the toolbox.
Conclusion
Getting your garage door sensors back in line isn’t rocket science, just a bit of patience and precision. Once they’re aligned, your door should close smooth like butter—no weird stops or blinking lights.
If it’s still acting up, the issue might run deeper. But for most folks? A quick sensor check is the cheat code.