

 Back to Blogs
How to Measure an Interior Door for Replacement
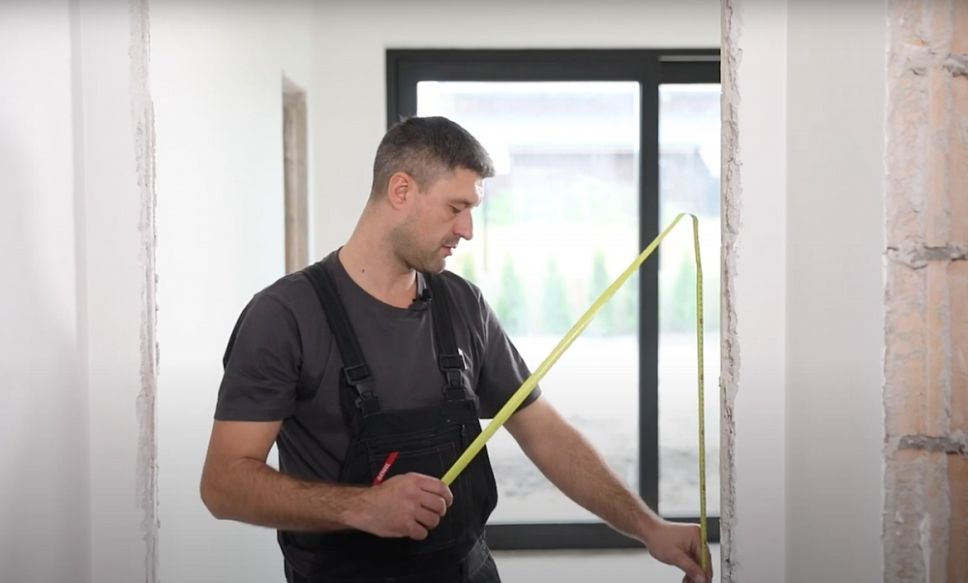
Replacing an interior door? Getting the right fit starts with proper measurements. It’s not as tricky as it sounds—you just need a tape measure and a few key tips.
In this guide, we’ll show you exactly how to measure so your new door fits like a glove, no surprises.
How do you measure an interior door for replacement?
Measure width (top, middle, bottom), height (left and right), and thickness. Also check hinge and knob placement and confirm door swing direction.
Key Takeaway
- Measure width in three spots—use the widest.
- Measure height in two spots—use the shortest.
- Check thickness and make sure it matches.
- Note hinge and knob placement to avoid install issues.
- Determine door swing (left/right) for a perfect fit.
- Accuracy matters—don’t eyeball it.
Tools You’ll Need
- Tape Measure: Nothing fancy here. Just a solid, reliable one that locks in place and doesn’t flop around.
- Notepad or Phone: You’ll want to jot down your numbers somewhere. Bonus points if it syncs to the cloud.
- Pencil: Skip the pen. Pencil lets you tweak marks if your first go isn’t perfect.
- Level: Optional but clutch if your frame looks a bit sketchy. Keeps everything straight.
- Camera (Optional): Snapping pics helps if you’re shopping in-store or sending dimensions to a contractor.
Step 1 – Measure the Width
Grab your tape measure and check the width of the existing door slab. Not the frame, not the trim—just the actual door.
Measure across the door from one edge to the other at three points: top, middle, and bottom.
If the numbers aren’t all twins, go with the widest. Standard widths are usually 24", 28", 30", 32", or 36".
Double-check that you’re not measuring any swelling or damage, doors age like jeans, and not always gracefully, something you’ll notice quickly when considering an entry door replacement in Southampton.
Step 2 – Measure the Height
Grab your tape measure and run it from the top edge of the door down to the bottom. Don’t measure the frame—just the actual door slab. Keep the tape flush and straight, no weird angles.
Standard height is usually 80 inches, but older homes love to surprise you. Jot it down, and double-check just to be safe. Accuracy now saves hassle later.
Oh, and measure in a couple of spots. Floors aren’t always level, especially if your place has... character. If there’s a difference, go with the smallest number. Trust—it’s the safer bet.
Step 3 – Measure the Door Thickness
Now grab that tape and check the edge of the door. Standard interior doors are usually 1 ⅜ inches thick. Got a heavier-duty one? It might be 1 ¾.
Place the tape across the door’s edge—don’t eyeball it. Measure in at least two spots to make sure it’s consistent.
Why does this matter? A mismatch could mean your new door won’t close right or even fit the hinges. Annoying.
So before you start flexing with a new door style, make sure the thickness is on point. Size isn’t everything, but here? It kind of is.
Step 4 – Check the Hinge and Hardware Placement
Here’s the part folks skip—and regret. Look at your existing door’s hinge spots, latch, and knob. Measure how far each hinge sits from the top and bottom.
Now check the new door slab. Do those spots line up? If not, you’ll be sanding, drilling, or screaming into a pillow.
Same goes for the knob and latch hole. If the cuts aren’t in the same place, it's not a fit—it’s a fight. Save yourself the drama and double-check before buying.
Step 5 – Determine the Swing and Handing of the Door
This part’s all about figuring out how your door opens — left or right, in or out. Stand facing the side where the door swings toward you. If the hinges are on your left, it’s a left-hand door. Hinges on your right? That’s a right-hand.
Why care? Because ordering the wrong swing is a cheat code for frustration. Match it right, and your door won’t just fit — it’ll flow like it was made for the space.
Think of it like picking your sneaker size. Close enough doesn’t cut it.
Pro Tips for Replacing Interior Doors
Double-check your measurements before buying. A half-inch off can turn into a full-blown headache. Always bring the old hinges and knob hardware to match sizes—nobody wants three trips to the store.
Pre-hung doors are the cheat code if your old frame’s warped. If not, slab doors save cash. Paint or stain before installation unless you like crouching in corners later.
Lastly, keep your floors covered—door swaps can get dusty real quick.
Common Mistakes to Avoid
Don't just eyeball it. Measuring with a tape that sags or bends can throw your numbers off.
Skipping the frame is another rookie move. Always measure the door and the rough opening—it’s the real MVP.
Forget rounding up. Too tight means the door won’t close, and no one’s got time for that kind of drama.
And double-check twice. Because one wrong inch? That’s a return trip you didn’t want to make.
Frequently Asked Questions
1. Do I measure the door or the frame?
Measure the frame, not the door. You're buying to fit the rough opening, not what’s already there.
2. Should I remove the trim first?
Yep. Trim hides the true size. Pop it off to get accurate numbers.
3. What if my opening isn’t standard?
No sweat. You can order custom sizes, or shave a standard one to fit.
Conclusion
Measuring your interior door isn’t rocket science—you just need the right steps and a decent tape measure. Once you’ve got your numbers, the rest is plug-and-play.
Double-check your work, don’t eyeball it, and you’ll dodge a world of install headaches.
It’s the kind of prep that makes you look way more pro than you probably feel.